ARC Commander QuickStart
last updated at 2023-06-09In this guide we focus on how to use the ARC Commander to create your ARC and structure, store and share your data.
UserNewbie ModeTutorial☑️ Please install ARC Commander
☑️ Find the command line on your system
💡 Consider reading about ARC and the ARC Commander
💡 After concluding this quickstart, consider exploring the ARC Commander manual for a more detailed usage instruction.
- Create and navigate to a local folder, which you want to initialize as an ARC.
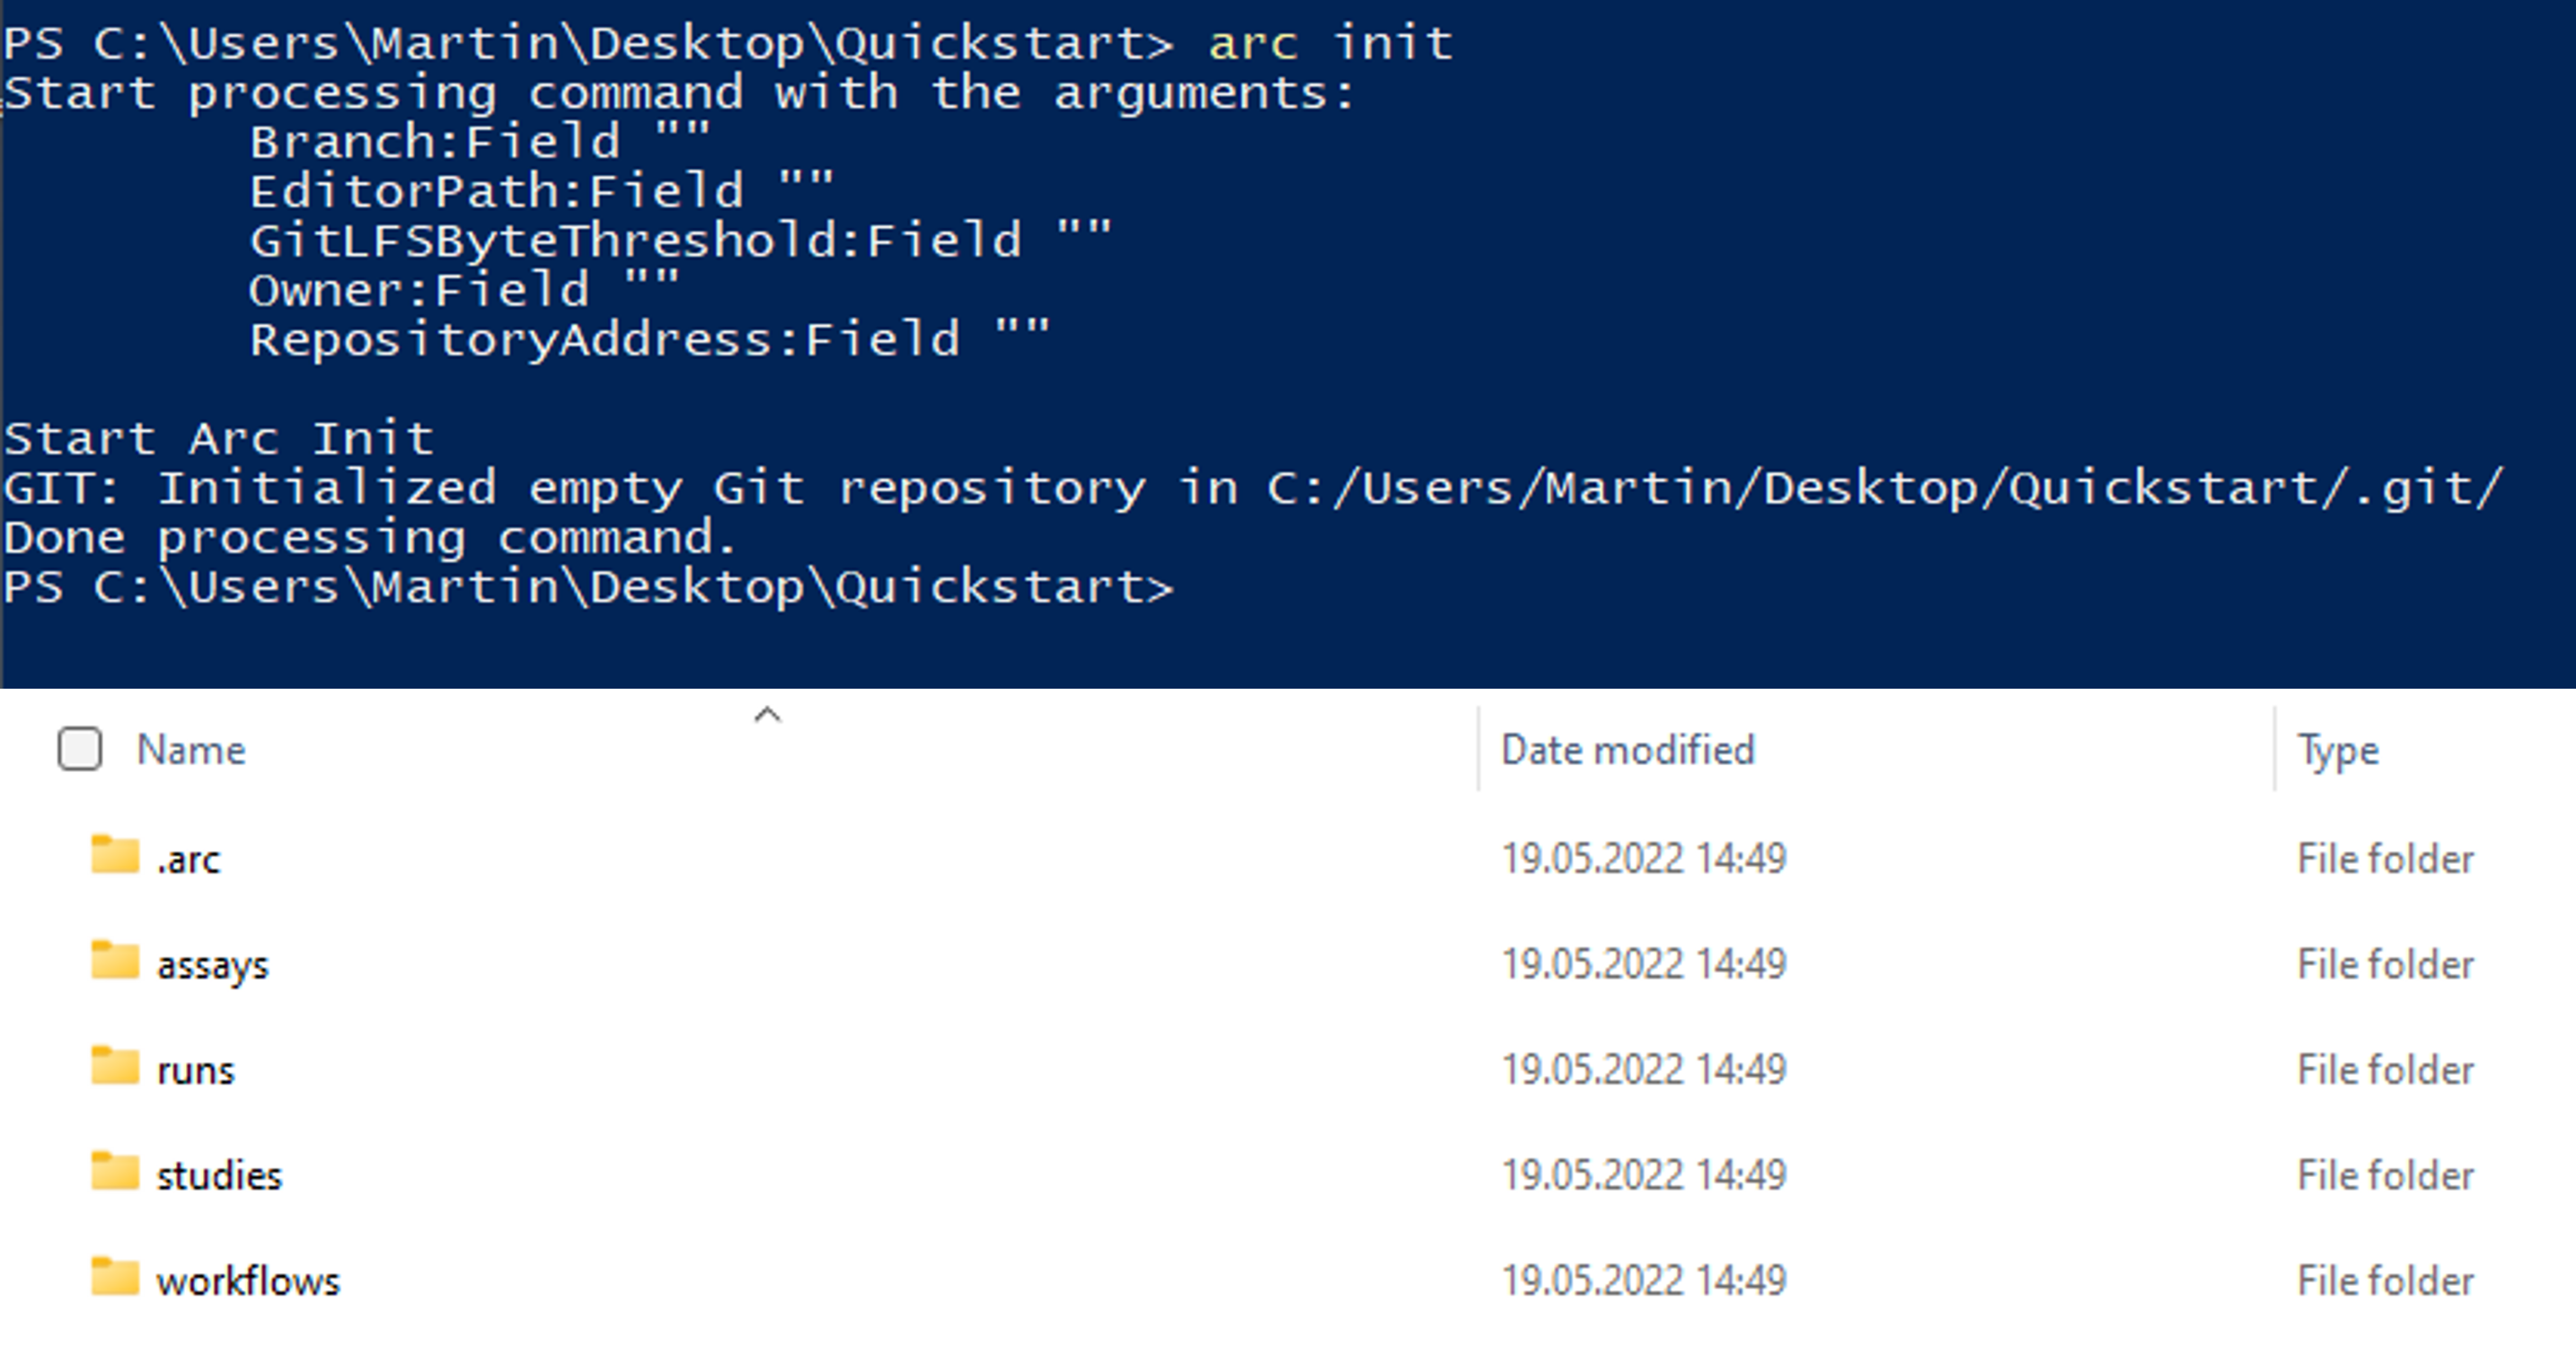
- Initialize your ARC by executing
- This will create the general ARC folder structure:
The ISA investigation (-i) workbook allows you to record administrative metadata of your project.
The isa.investigation.xlsx workbook including an identifier to your ARC has been added to the project during initialization.
You can update the identifier of your ARC with
💡 Avoid using spaces in the identifier. Use underscores and capital letters instead.
The ISA study (-s) and ISA assay (-a) workbooks allow you to annotate your experimental data.
- Add an isa.study.xlsx workbook including an identifier to your ARC with
- Add an isa.assay.xlsx workbook including an identifier to your ARC with
💡 An assay must be linked to a study. If a study does not exist, it will be created automatically in this step.
- The ARC Commander will add a subdirectories to the studies and assays folder. Your ARC should look similar to this now:
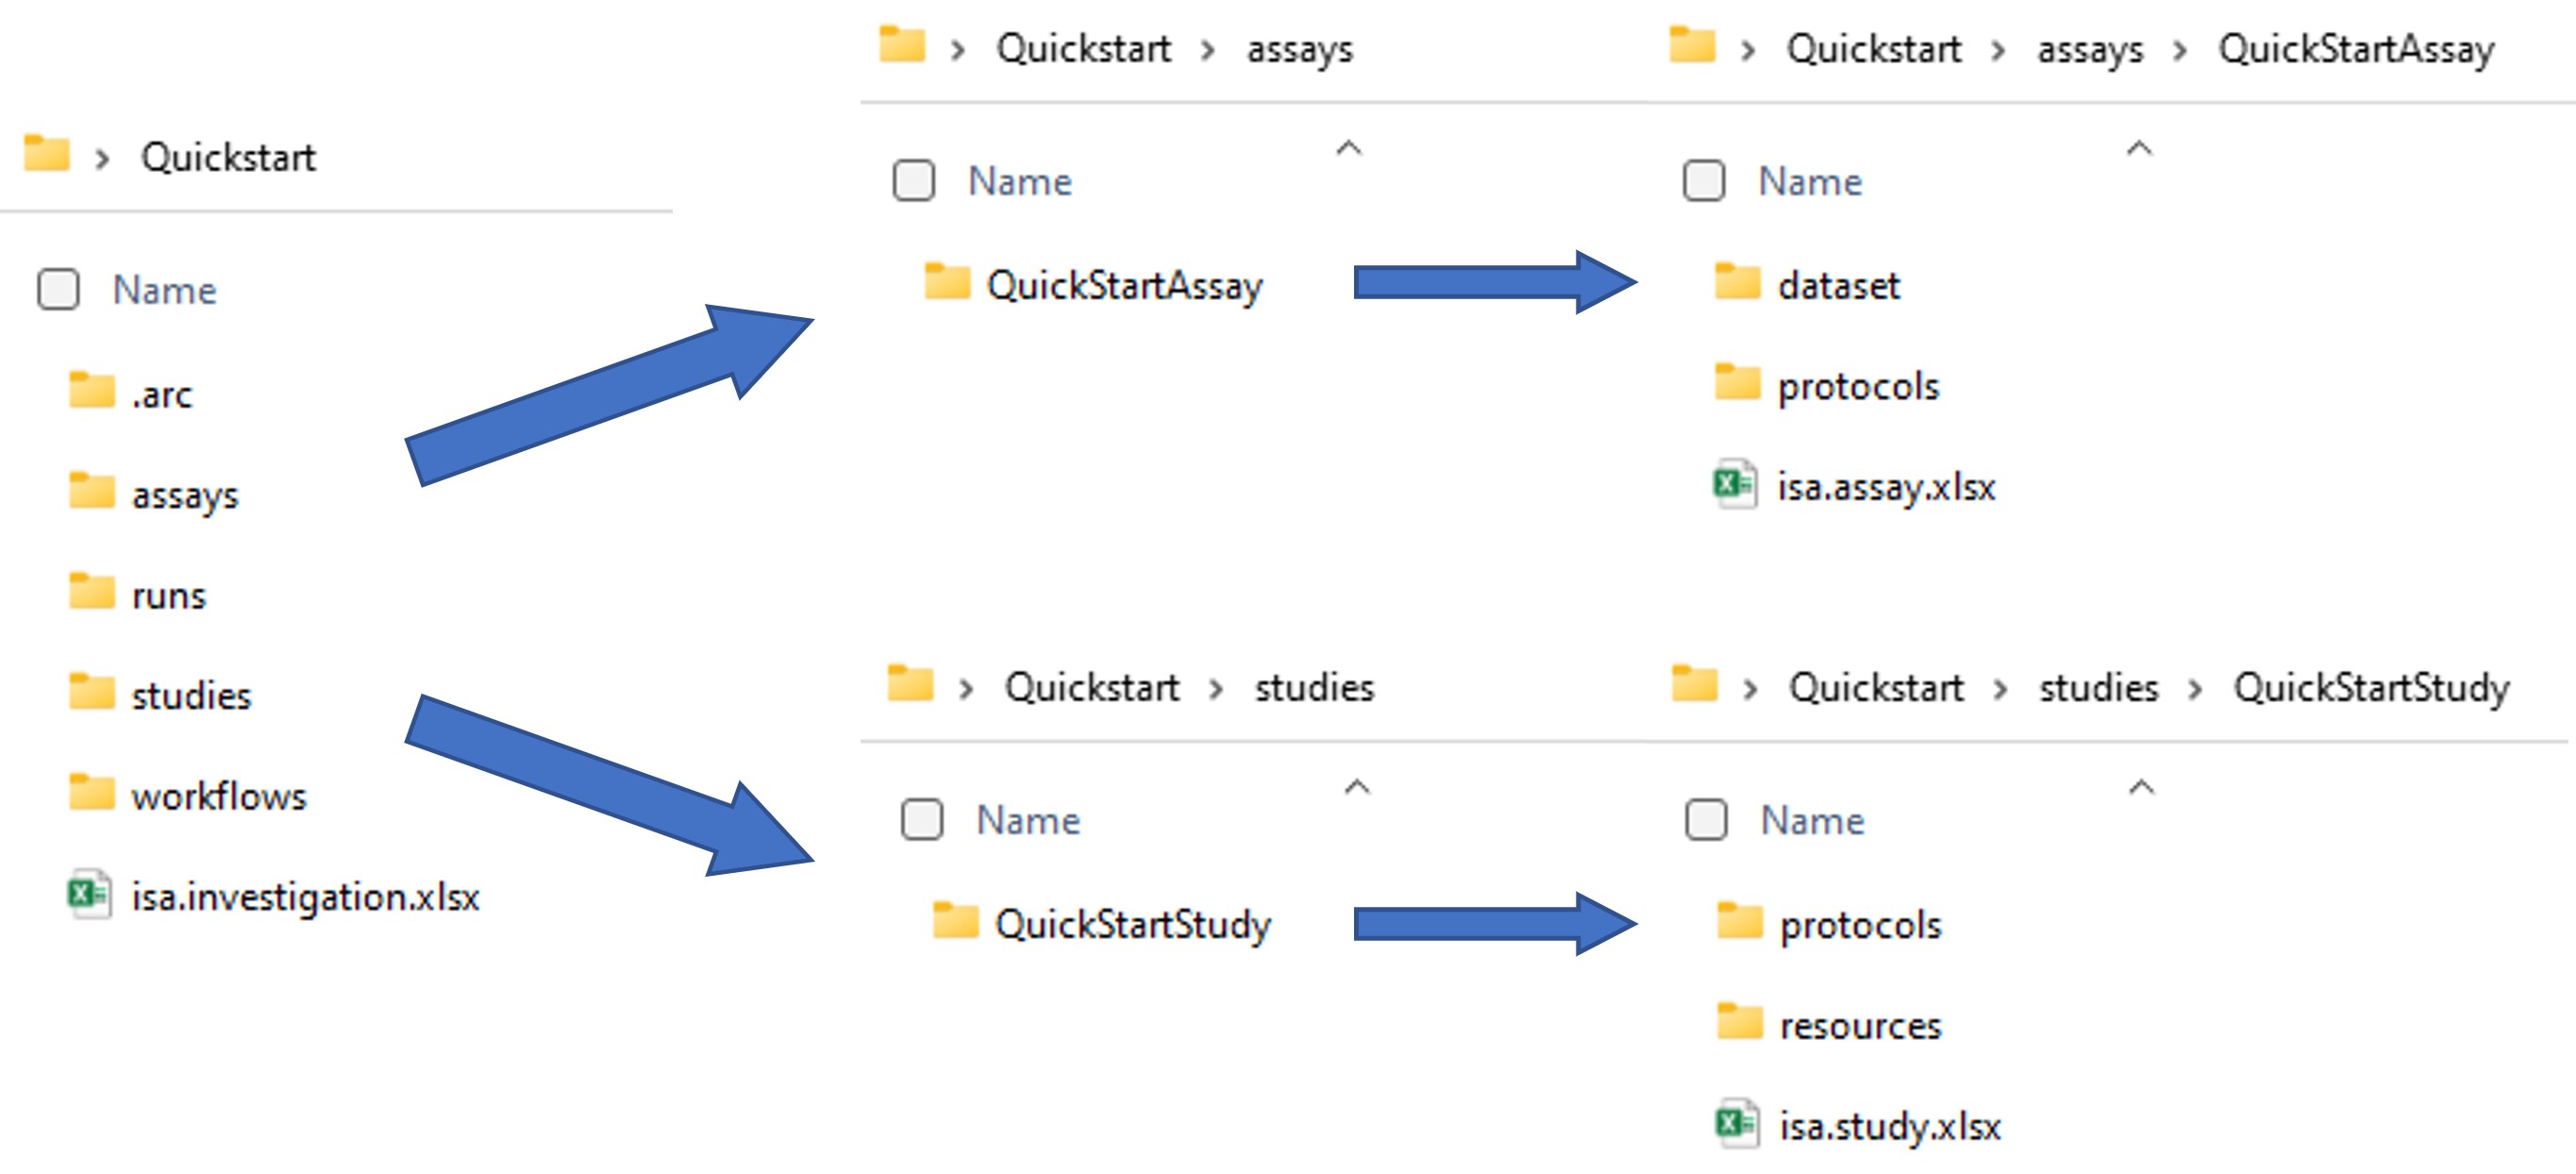
- These steps can be repeated to add as many studies and assays as needed. Accordingly, more subdirectories will be added. Multiple assays can be grouped in a study when the same StudyIdentifier is used.
- Place the data for each assay in the respective dataset folder.
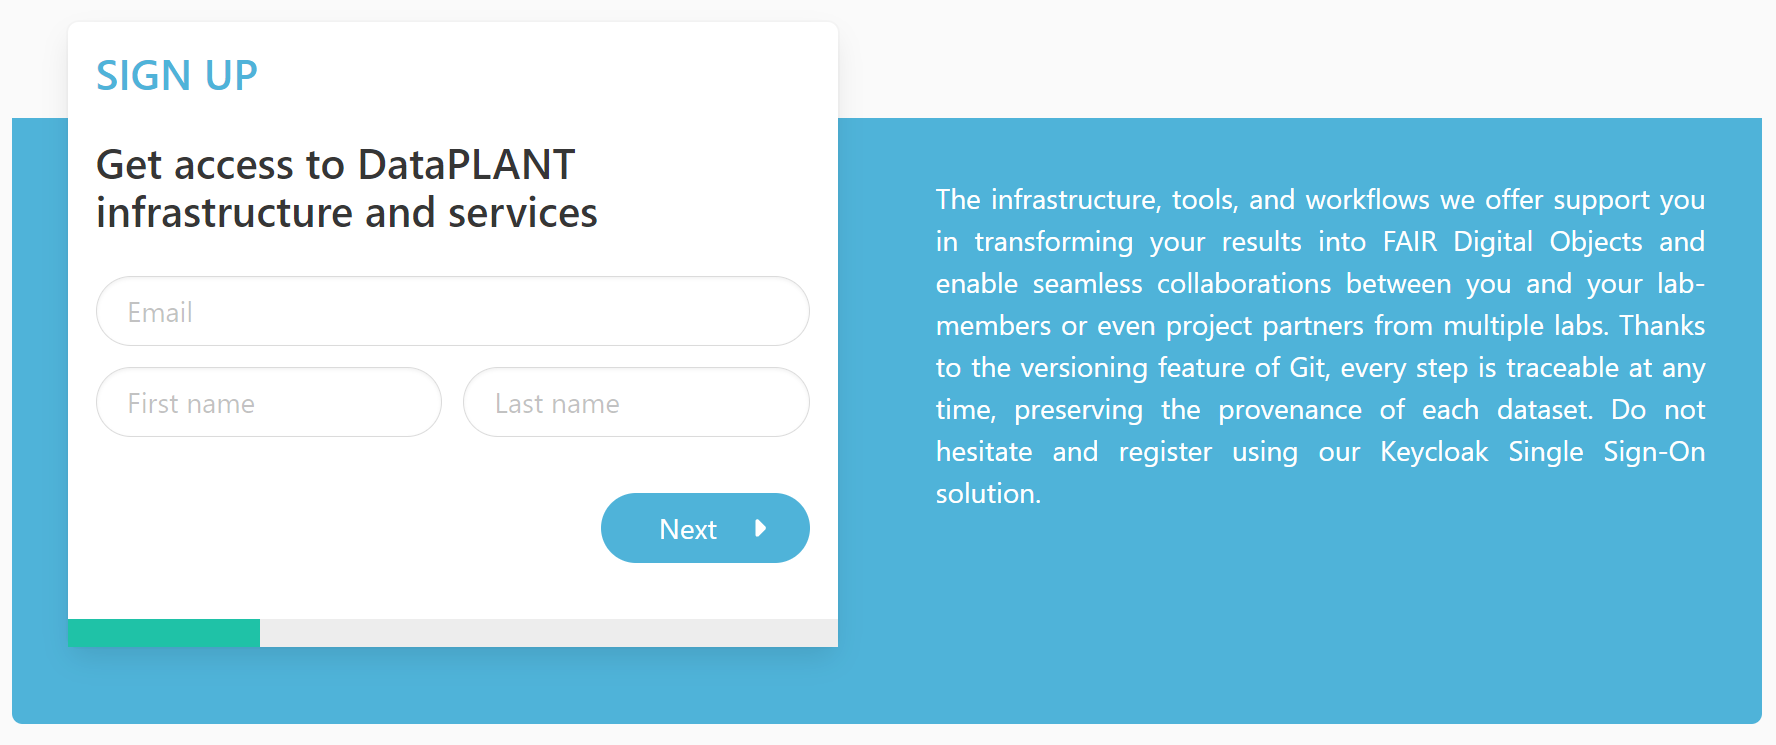
In case you are not a member of DataPLANT yet, please visit sign up. Afterwards, you will be granted access to DataPLANT’s DataHUB. The DataHUB allows you to share your ARCs with registered lab or project partners.
After successful registration, setup your machine for smooth ARC synchronization using the ARC Commander
Allow git to store credentials on your machine.
Windows
git config --global credential.helper cache or
git config --global credential.helper store MacOS
git config --global credential.helper osxkeychain Linux
git config --global credential.helper store Create and set an access token
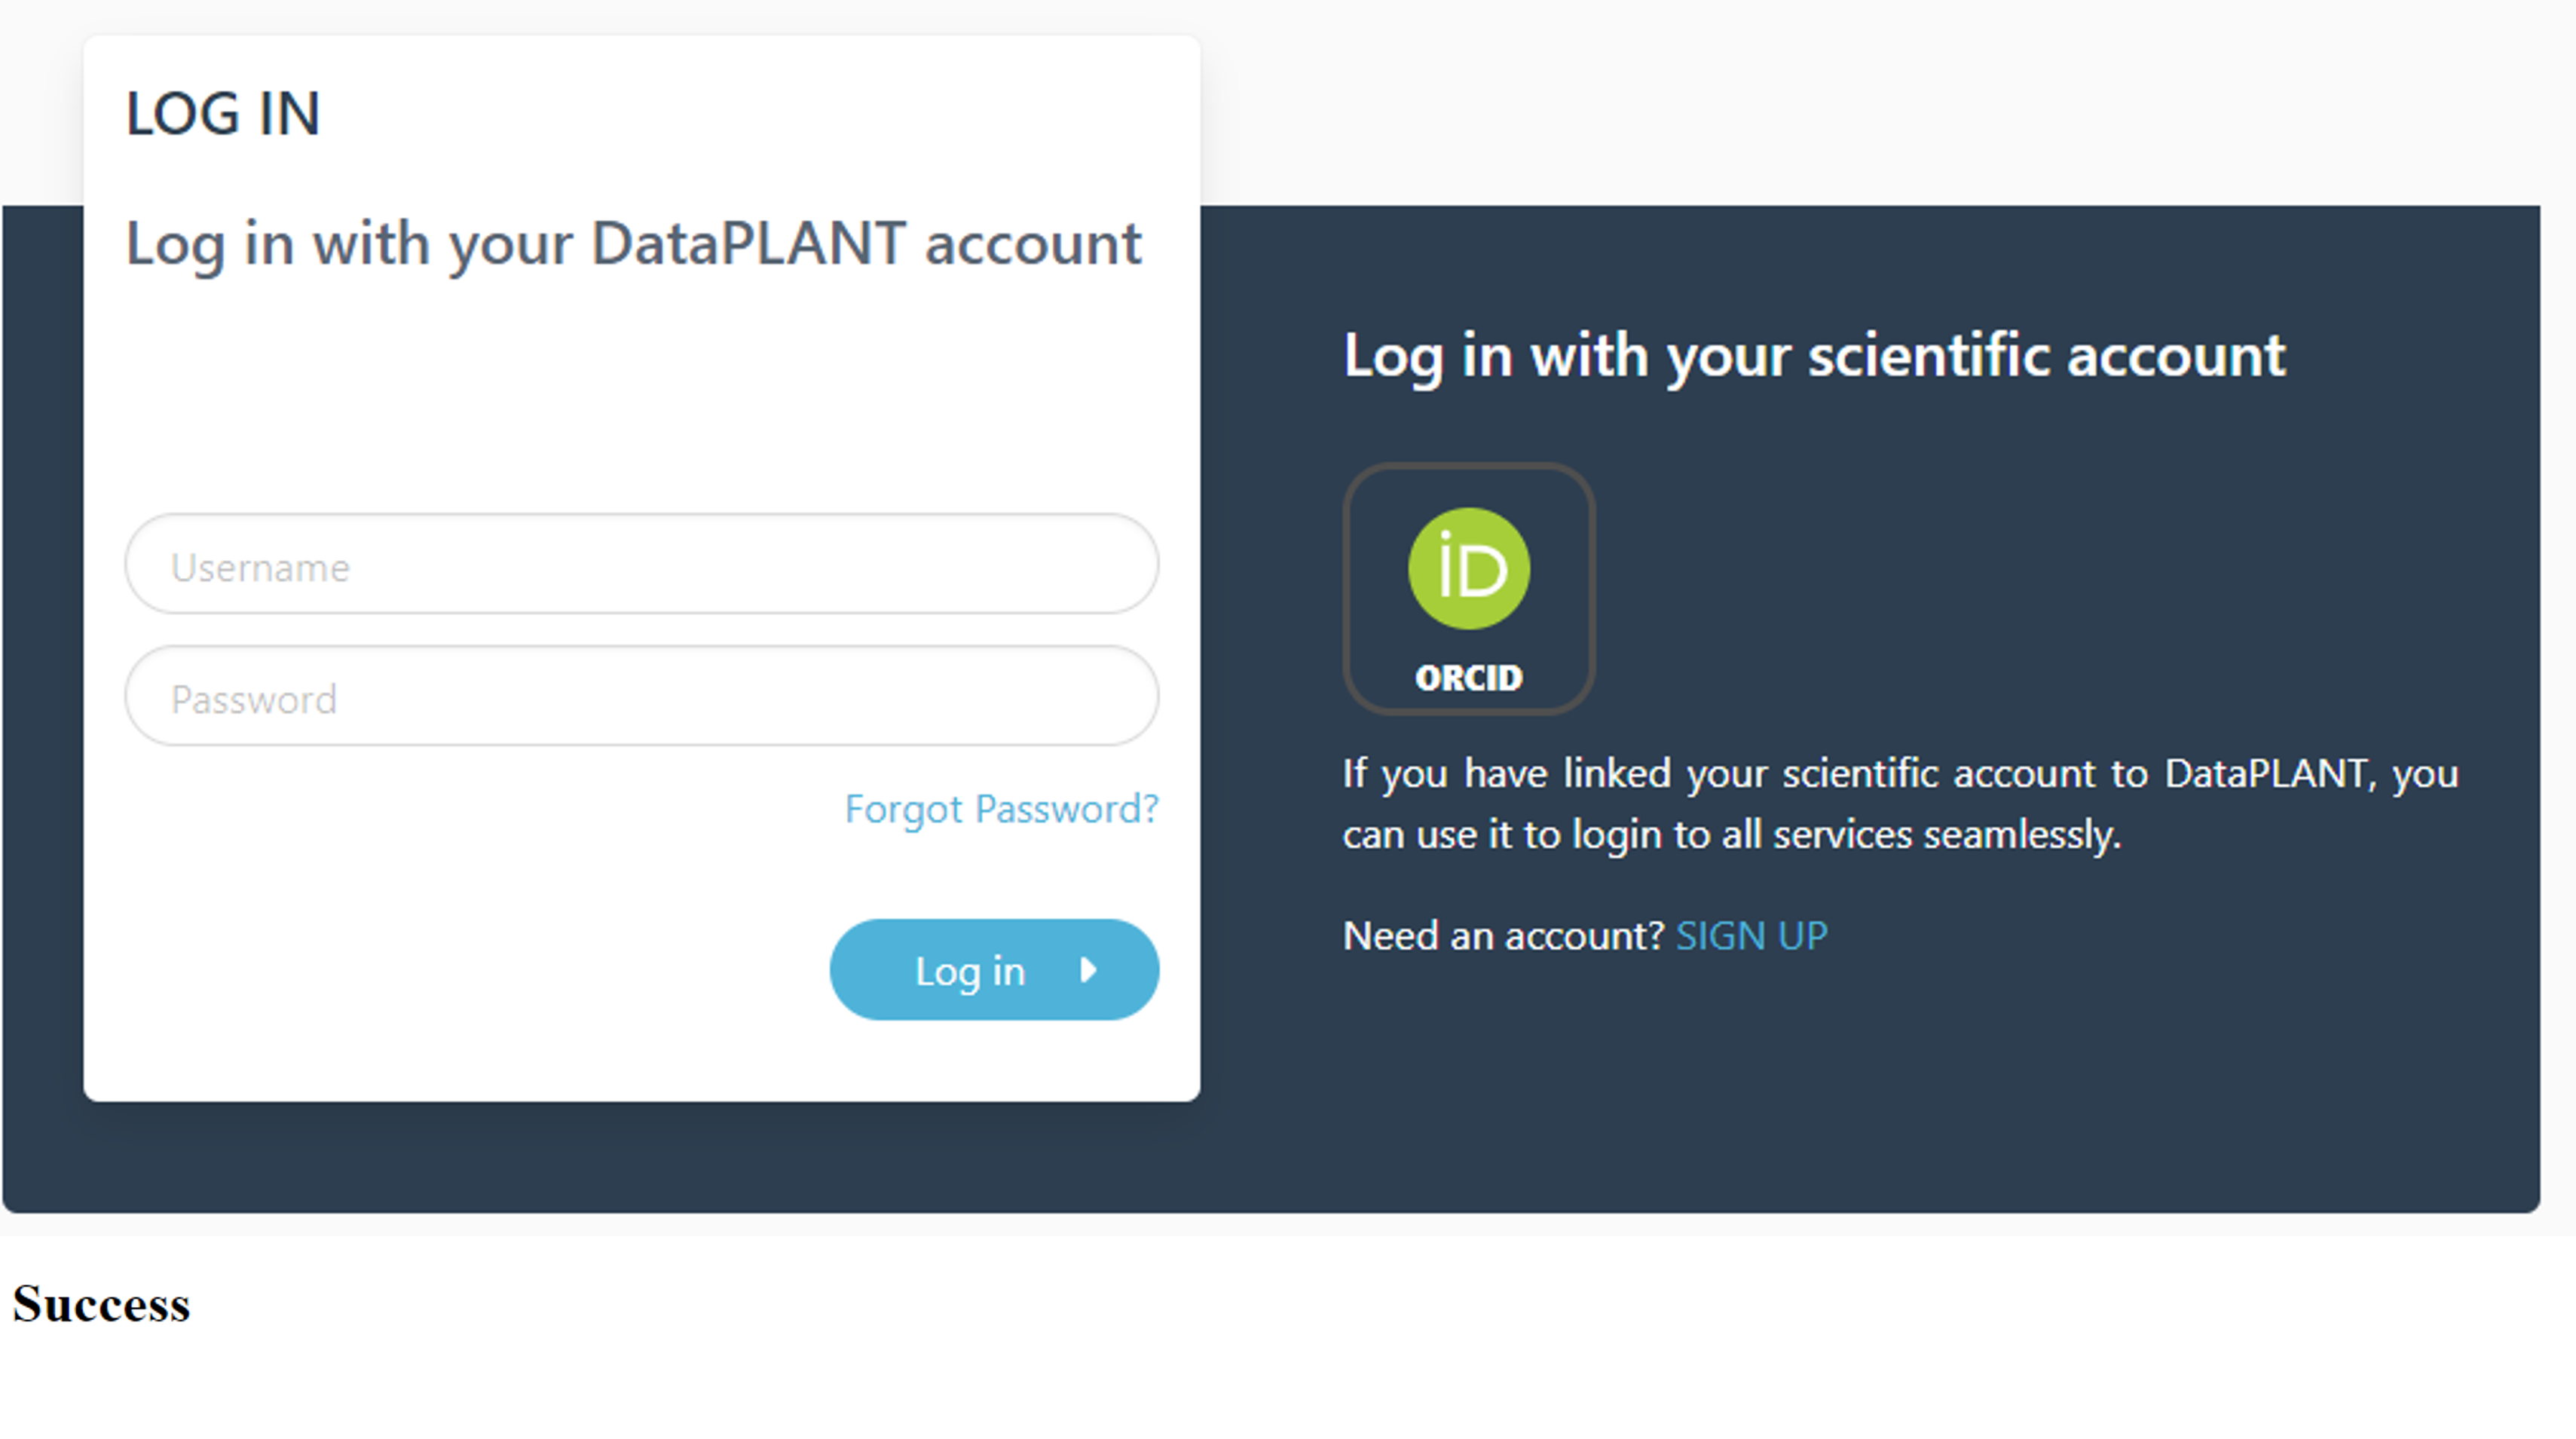
arc remote accesstoken get -s https://git.nfdi4plants.org
A window within your browser will open, asking for your DataPLANT Log In. In case you are already logged in, the browser will directly display a Success message to you:
- Synchronize your ARCs with the DataHUB using the command
- If you did not connect your local ARC with a remote one so far, you can specify the remote address with the flag
-rfollowed by an URL, e.g.,
- In case you want to create a new remote repository at this URL, it needs to be assembled as the following example:
- If no repository exists under the given URL, the ARC Commander will produce an error ensuring that you spelled the URL correctly. To force synchronization, use
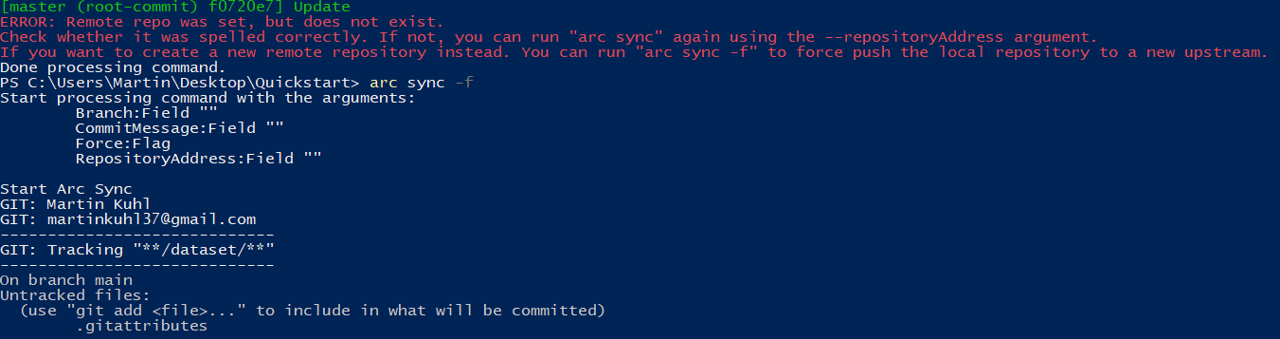
- Check if the upload was successful by visiting your ARC at the respective URL in your browser.

Note: Alternatively, you can first create a new blank repository in the DataHUB by clicking "New project/repository" in the plus drop down menu of the navigation bar on top. Afterwards, you can sync your local ARC to the respective repository by adapting the URL to the newly generated one.
Some users might want to use different signatures for different repositories, e.g. for developing software on GitHub and working on ARCs on DataPLANT's DataHUB. Besides your global git configuration, you can store the information you want to use for editing ARCs within the ARC Commander config:
To transfer the information from the global ARC Commander config to the local git config of the ARC use
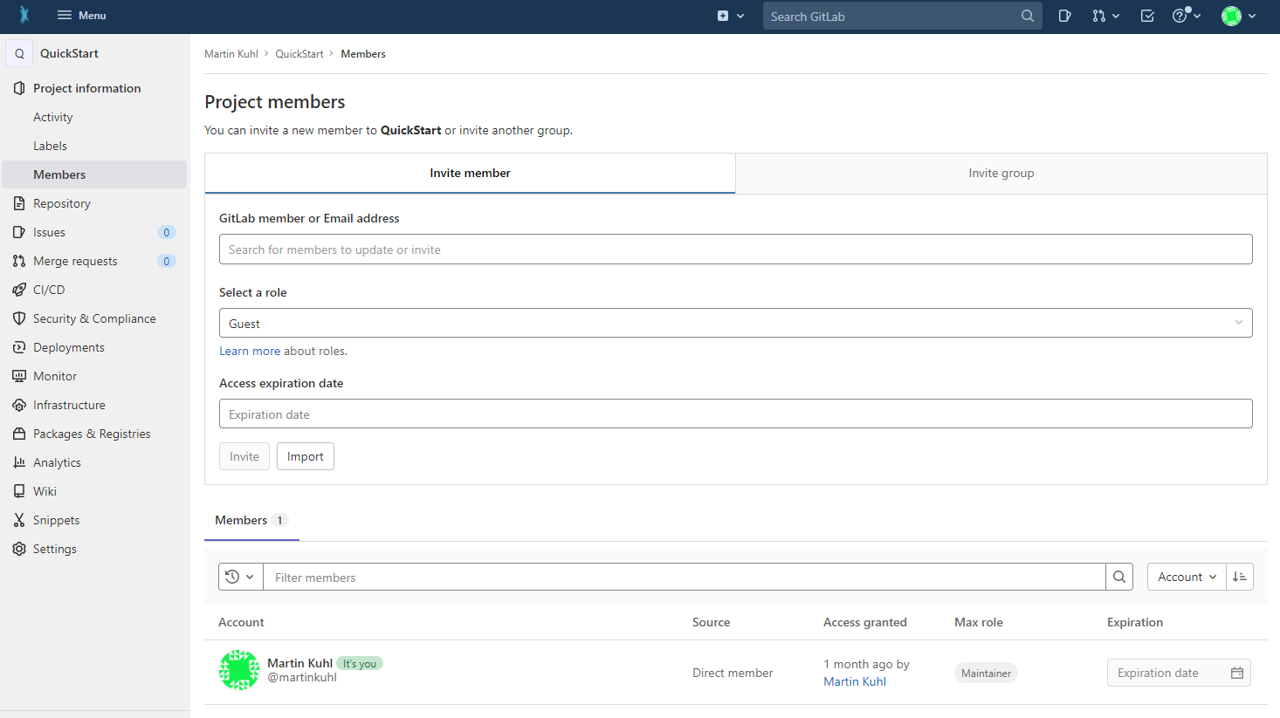
You can invite lab-colleagues or project partners to join your ARC for collaboration. While inside your ARC on the DataHUB, click on Project information -> Members in the left navigation panel. Search for registered researchers and select a role for each individually. These roles come along with different rights.
Briefly:
- Guests: Have the least rights. They will not be able to see the content of your ARC (only the wiki page).
- Reporters: Have read access to your ARC. This is recommended for people you ask for consultancy.
- Developers: The choice for most people you want to invite to your ARC. Developers have read and write access, but cannot maintain the project on the DataHUB, e.g. inviting others.
- Maintainers: Gives the person the same rights as you have (except of removing you from your own project). This is recommended for inviting PIs or group leaders allowing them to add their group members for data upload or analysis to the project as well.
💡 After concluding this quickstart, you might want to explore the ARC Commander manual for a more detailed usage instruction.