
Migrating files to LFS
This guide shows how to migrate files that were (accidentally) not tracked by Git-LFS.
Follow this guide to inspect the ARC project storage in the DataHUB
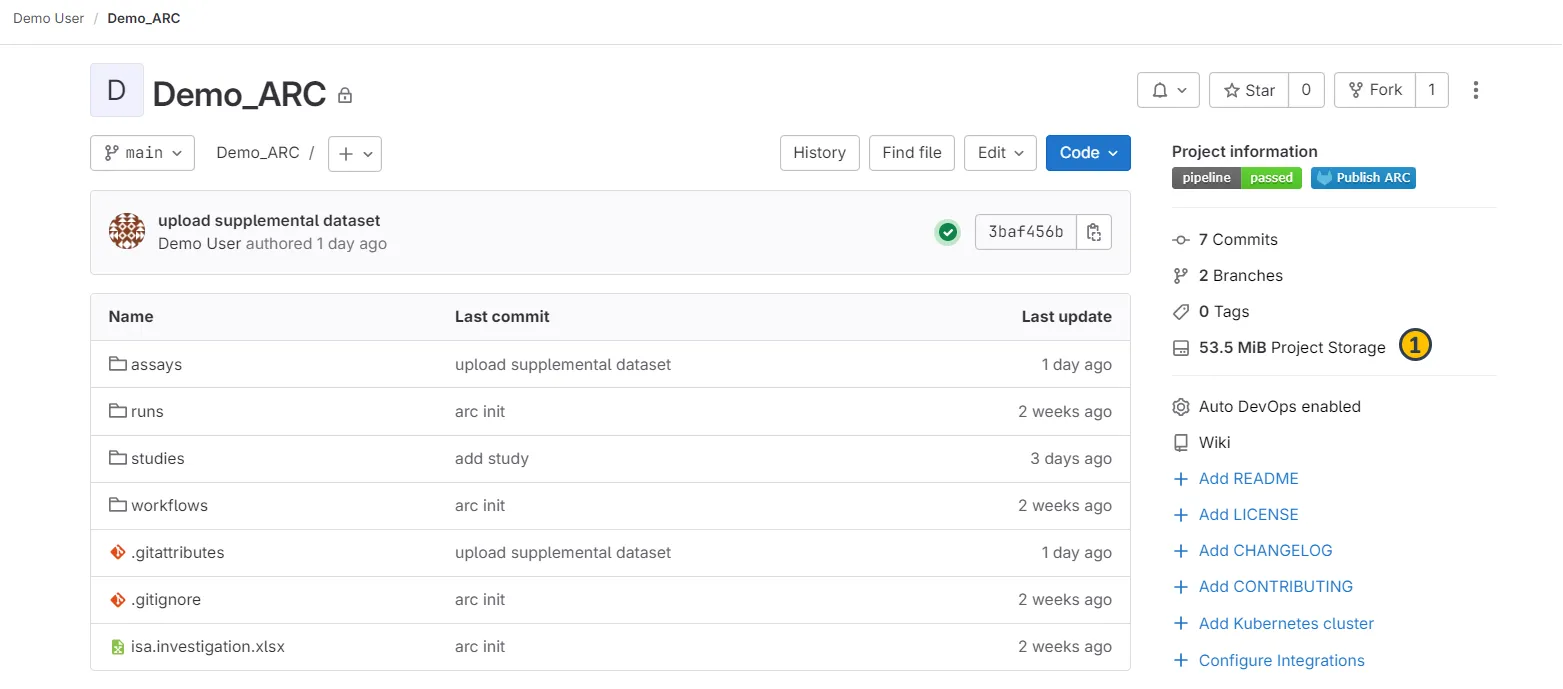
You can easily check the usage quota used by your ARC by navigating to your ARC in the DataHUB and clicking on “Project Storage” in the right sidebar (1).
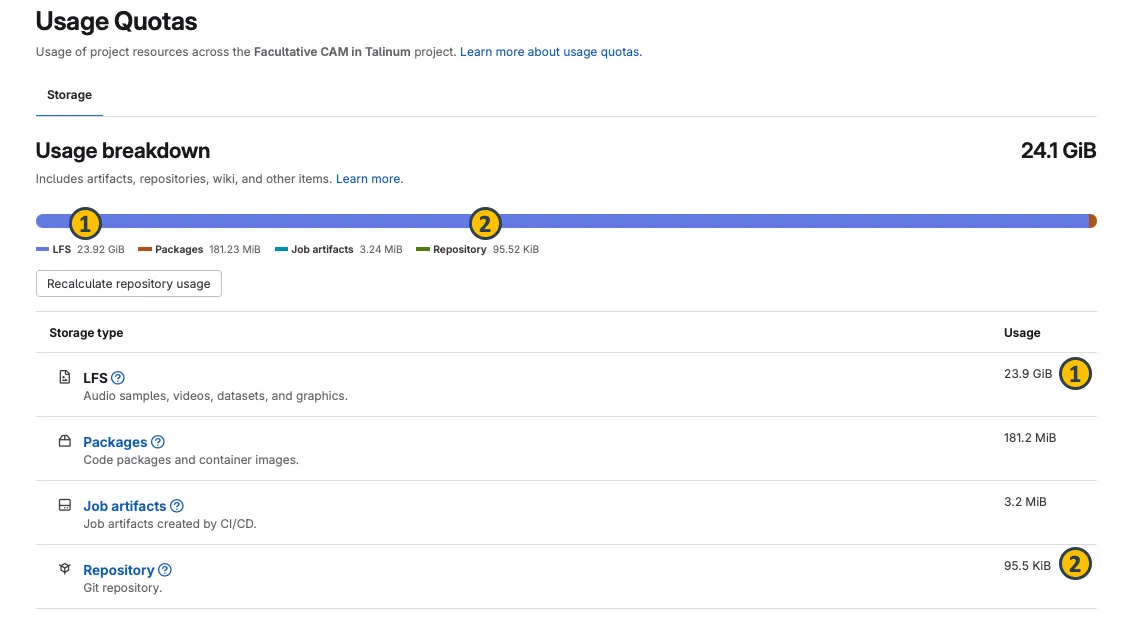
In terms of usage quota, two numbers are particularly important: LFS (1) and Repository (2) The majority of quota should fall into “LFS”, while the size of “Repository” should be kept small. If too many files are in “Repository”, this slows down the communication with and processing of your ARC.
- At least
Maintainerlevel permission for the ARC being modified GitandGit-LFSinstalled locally- Enough disk space to download a fresh copy of the ARC
Before you start
Section titled “Before you start”The selected large files in the (local) ARC are replaced by lightweight pointers. We recommend performing this on a freshly downloaded (“cloned”) ARC instead of the original copy on a user’s machine. For the migration, it suffices to download the ARC without already “properly LFS-tracked” large files, if the ARC is then synced back to the same remote (URL) in the DataHUB as shown below.
Migrating files to LFS
Section titled “Migrating files to LFS”-
In the DataHUB, allow “force push” for the ARC
Details
- Open your ARC in the DataHUB
- Via the sidebar navigate to Settings —> Repository
- Open the section “Protected branches”
- Activate the button
Allowed to force push
-
Download a fresh copy of your ARC
Details
Terminal window arc get -n -r <ARC URL>Terminal window GIT_LFS_SKIP_SMUDGE=1 git clone --filter=blob:none <ARC URL> -
Migrate to LFS
You can use a pattern for a certain file type (here:
.tiffand.fastq.gz) withTerminal window git lfs migrate import --everything --include="*.tiff,*fastq.gz"You can migrate all files in a certain folder (here
runs/run01/run_results/) withTerminal window git lfs migrate import --everything --include="runs/run01/run_results/*"or a single file with
Terminal window git lfs migrate import --everything --include="path/to/large-file.zip"You can also migrate all files larger than a threshold (here
1 MB) withTerminal window git lfs migrate import --everything --above="1 MB" -
Force push the changes to the DataHUB
Terminal window git push --all --force -
(Recommended:) Deactivate allowing force push (see step 1)
-
(Recommended:) Run Housekeeping in the DataHUB
Details
- Open your ARC in the DataHUB
- Via the sidebar navigate to Settings —> General
- Open the section “Advanced”
- Click the button
Run housekeeping - Click the button
Prune unreachable objects 