
ARCitect Installation
-
Head to the ARCitect’s GitHub release page.
-
Under “Assets” Download the latest release for Windows (
ARCitect-x.x.x-win.zip). -
In Windows Explorer, open the folder where you downloaded the ARCitect.
-
Unzip (
Right click➞Extract All..) the folder (ARCitect-x.x.x-win.zip). You can move this folder to another location (e.g.Program files). -
Start the ARCitect, by clicking the
ARCitectapplication. -
Once started, you see a Windows Defender warning. To proceed, click
More infoand thenRun anyway.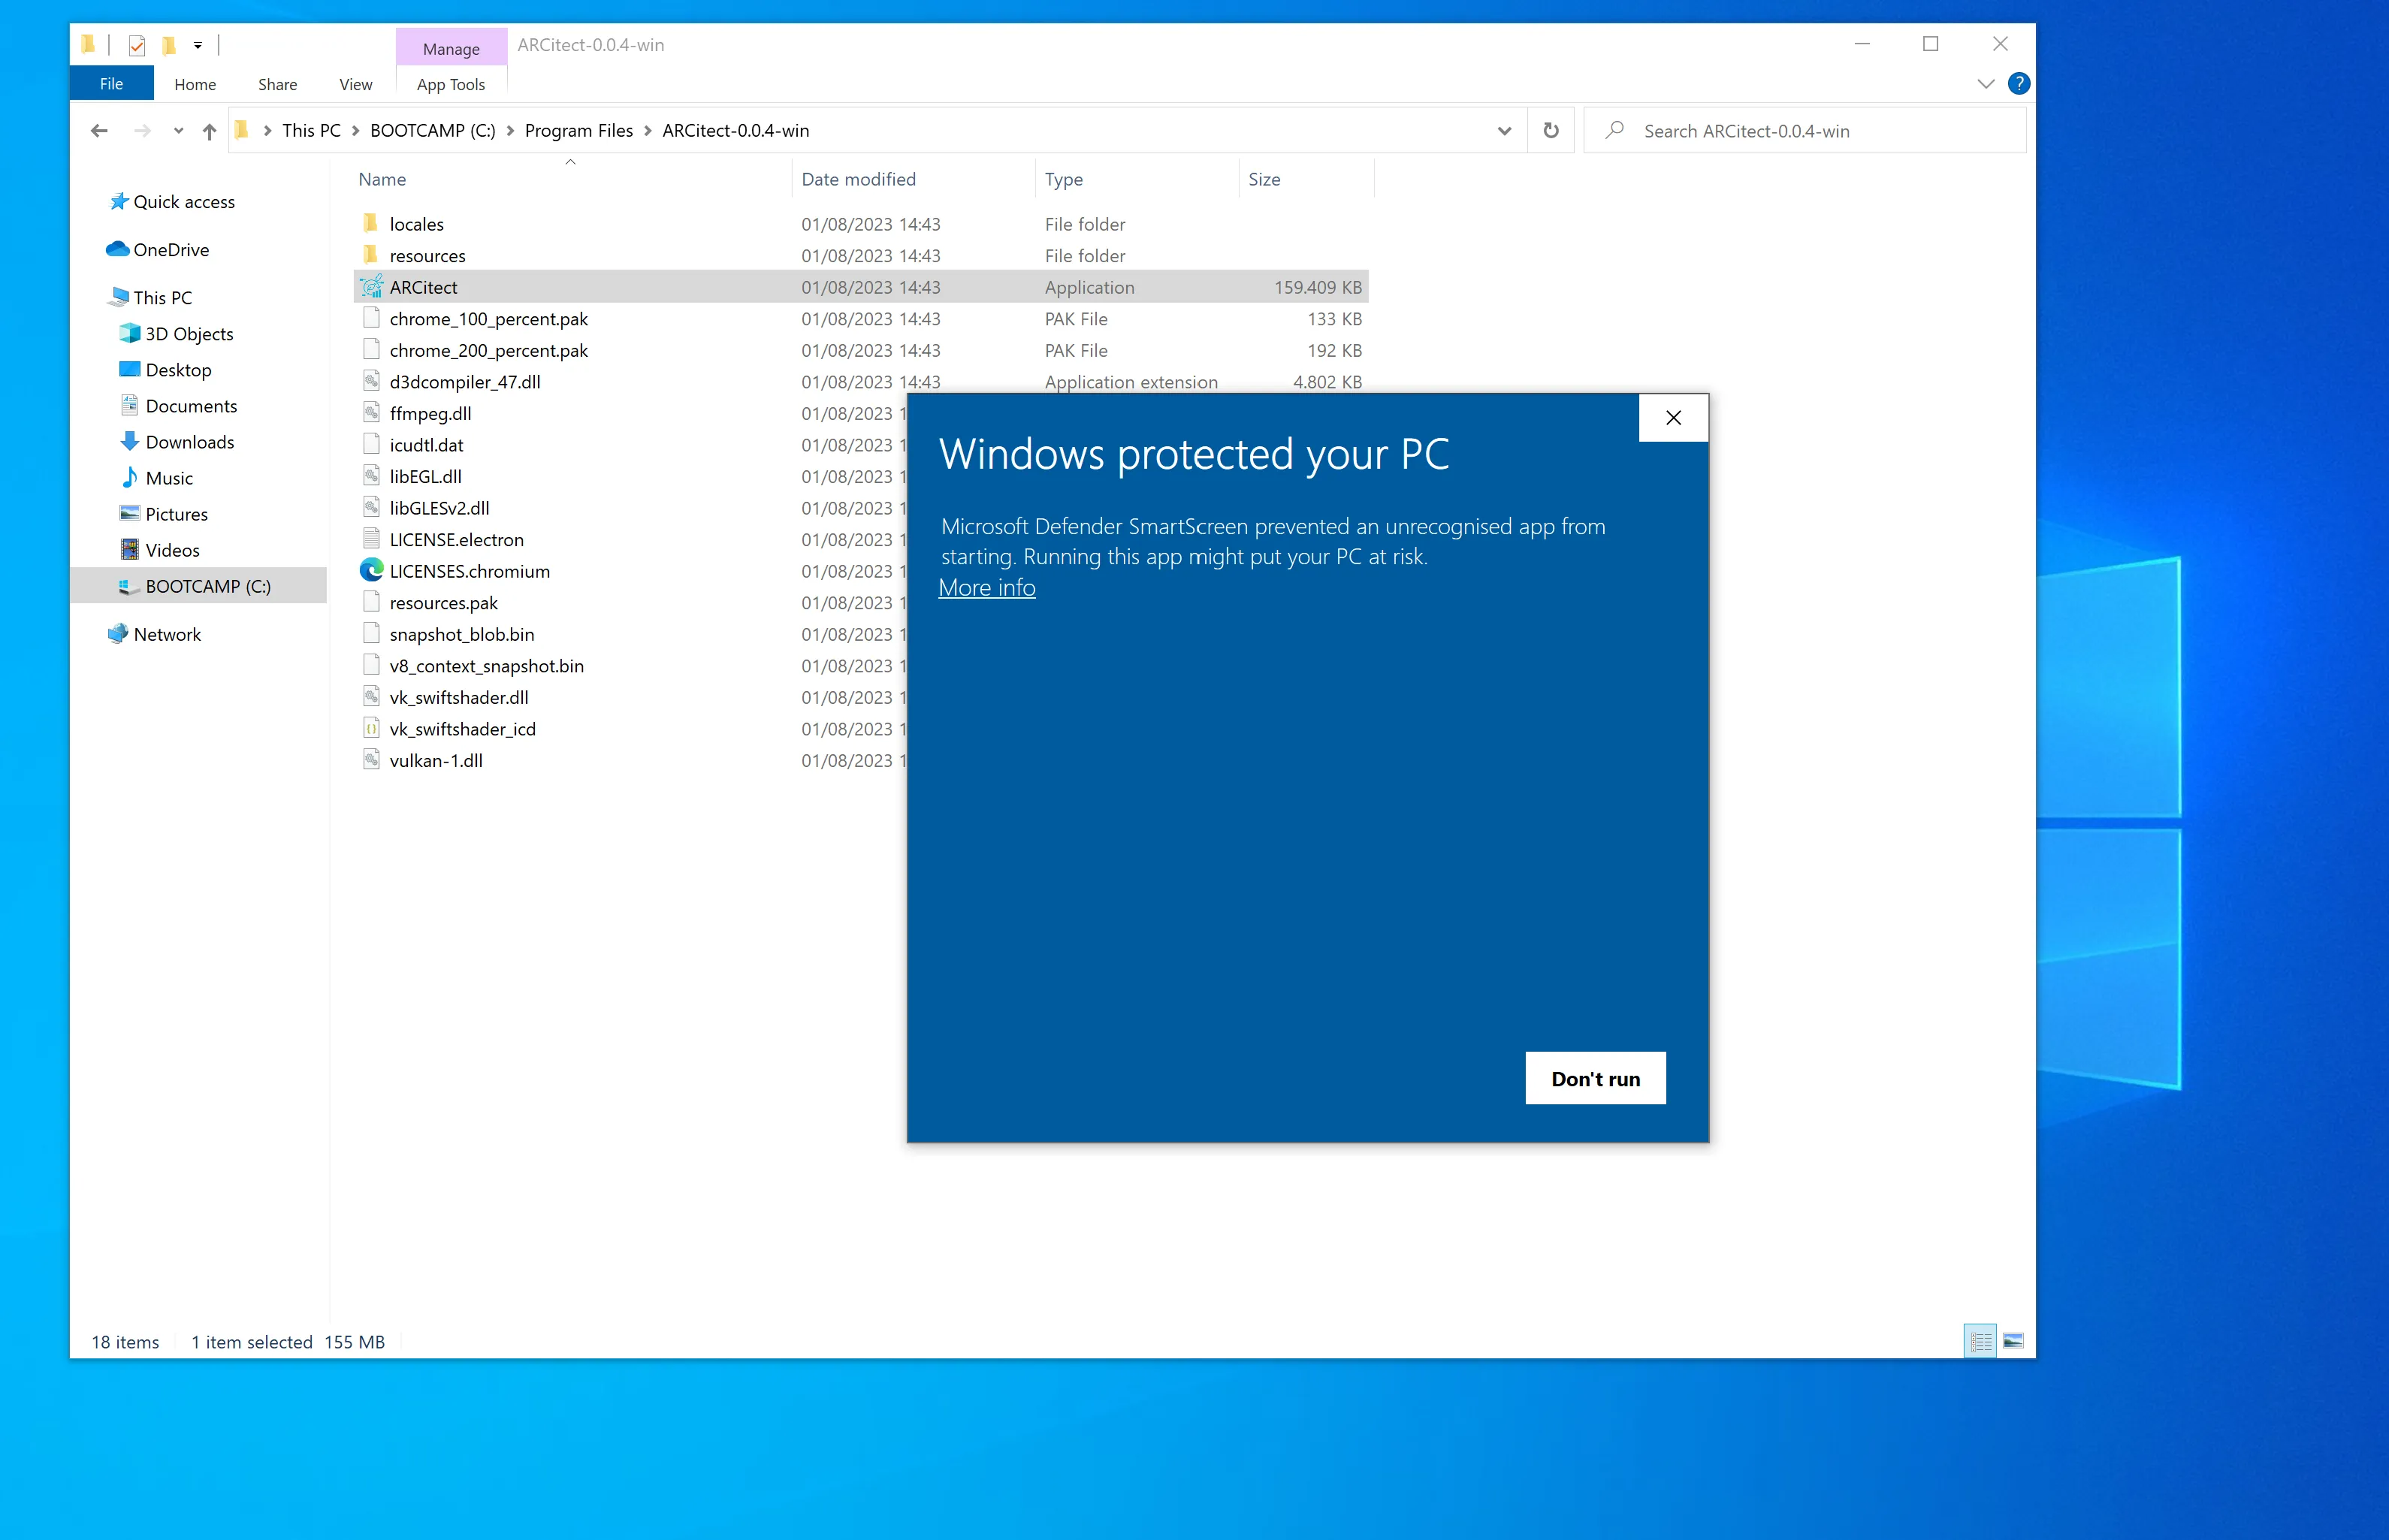
-
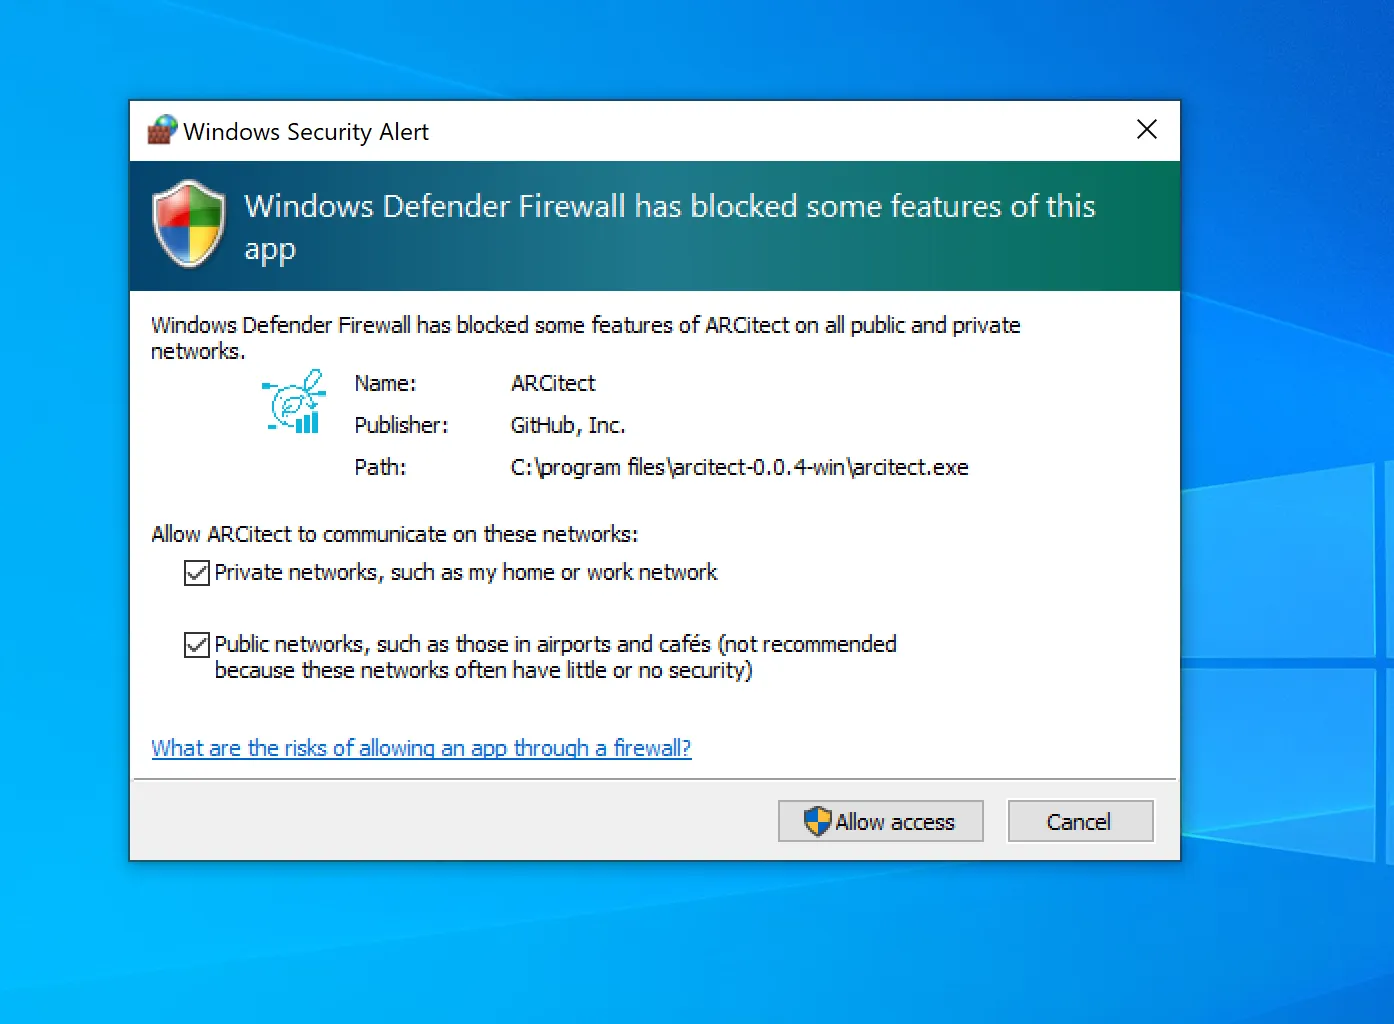
Windows Defender Firewall further asks you to allow network communication. This enables communication with the DataHUB.
Check git installation
Section titled “Check git installation”To check, that Git and Git LFS are installed on your computer, open a new command prompt or terminal and execute the following two commands. These should display the installed version. If not, follow the installation instructions.
-
Open a command prompt or terminal
-
Check the installed Git version via
Terminal window git --version -
Check the installed Git LFS version via
Terminal window git-lfs --version
Installing Git and Git LFS
Section titled “Installing Git and Git LFS”- Download the Git installer for Windows from https://git-scm.com.
- Open the installer and follow the installation instructions
- During the installation, make sure to include Git LFS (Large File Support)
-
Open a Terminal
-
(Optional, if homebrew is not yet installed:) Install the package manager homebrew via
Terminal window /bin/bash -c "$(curl -fsSL https://raw.githubusercontent.com/Homebrew/install/HEAD/install.sh)" -
Install Git via homebrew with
Terminal window brew install git -
Install Git LFS via homebrew with
Terminal window brew install git-lfs -
Initialize Git LFS via
Terminal window git lfs install
-
Open a Terminal
-
Update the package manager apt via
Terminal window sudo apt update -
Install Git via apt with
Terminal window sudo apt-get install git -
Install Git LFS via apt with
Terminal window sudo apt-get install git-lfs -
Initialize Git LFS via
Terminal window git lfs install
ARCitect Installation
Section titled “ARCitect Installation”Head to the ARCitect’s GitHub release page.
-
Download the macOS installer
ARCitect-x.x.x.dmg. -
Double-click the installer
ARCitect-x.x.x.dmgand move the app to your Applications folder.
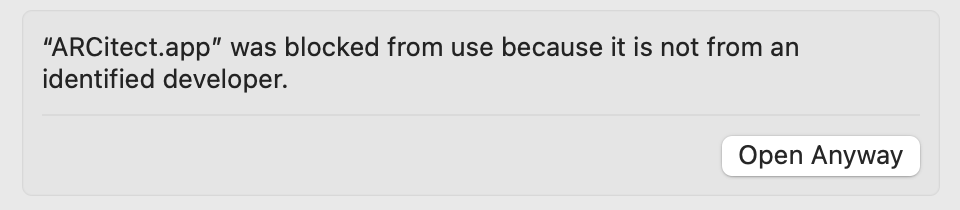
Unidentified developer
Section titled “Unidentified developer”When starting ARCitect for the first time, you are warned about an unidentified developer.

Please navigate to the Privacy & Security panel in your System Settings to Open Anyway.
Accept incoming network connections
Section titled “Accept incoming network connections”Every time you start the ARCitect, you are asked to accept incoming network connections.
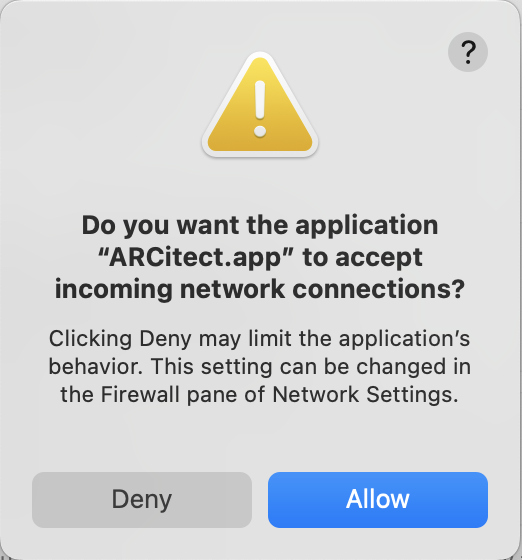
This enables communication with the DataHUB.
Check git installation
Section titled “Check git installation”To check, that Git and Git LFS are installed on your computer, open a new command prompt or terminal and execute the following two commands. These should display the installed version. If not, follow the installation instructions.
-
Open a command prompt or terminal
-
Check the installed Git version via
Terminal window git --version -
Check the installed Git LFS version via
Terminal window git-lfs --version
Installing Git and Git LFS
Section titled “Installing Git and Git LFS”- Download the Git installer for Windows from https://git-scm.com.
- Open the installer and follow the installation instructions
- During the installation, make sure to include Git LFS (Large File Support)
-
Open a Terminal
-
(Optional, if homebrew is not yet installed:) Install the package manager homebrew via
Terminal window /bin/bash -c "$(curl -fsSL https://raw.githubusercontent.com/Homebrew/install/HEAD/install.sh)" -
Install Git via homebrew with
Terminal window brew install git -
Install Git LFS via homebrew with
Terminal window brew install git-lfs -
Initialize Git LFS via
Terminal window git lfs install
-
Open a Terminal
-
Update the package manager apt via
Terminal window sudo apt update -
Install Git via apt with
Terminal window sudo apt-get install git -
Install Git LFS via apt with
Terminal window sudo apt-get install git-lfs -
Initialize Git LFS via
Terminal window git lfs install
ARCitect Installation
Section titled “ARCitect Installation”-
Install additional dependencies via
Terminal window sudo apt-get updatesudo apt-get install libgtk-3-0 libnotify4 xdg-utils libsecret-1-0 Head to the ARCitect’s GitHub release page.
-
Download the Linux DEB package
ARCitect-x.x.x_amd64.deb. -
Install ARCitect
Terminal window sudo dpkg -i ./ARCitect-x.x.x_amd64.deb -
Start the ARCitect via
Terminal window arcitect