
ARCitect-GX Installation
Check git installation
Section titled “Check git installation”ARCitect-GX depends on Git and Git LFS. These need to be installed separately.
To check, that Git and Git LFS are installed on your computer, open a new command prompt or terminal and execute the following two commands. These should display the installed version. If not, follow the installation instructions.
-
Open a command prompt or terminal
-
Check the installed Git version via
Terminal window git --version -
Check the installed Git LFS version via
Terminal window git-lfs --version
Installing Git and Git LFS
Section titled “Installing Git and Git LFS”- Download the Git installer for Windows from https://git-scm.com.
- Open the installer and follow the installation instructions
- During the installation, make sure to include Git LFS (Large File Support)
-
Open a Terminal
-
(Optional, if homebrew is not yet installed:) Install the package manager homebrew via
Terminal window /bin/bash -c "$(curl -fsSL https://raw.githubusercontent.com/Homebrew/install/HEAD/install.sh)" -
Install Git via homebrew with
Terminal window brew install git -
Install Git LFS via homebrew with
Terminal window brew install git-lfs -
Initialize Git LFS via
Terminal window git lfs install
-
Open a Terminal
-
Update the package manager apt via
Terminal window sudo apt update -
Install Git via apt with
Terminal window sudo apt-get install git -
Install Git LFS via apt with
Terminal window sudo apt-get install git-lfs -
Initialize Git LFS via
Terminal window git lfs install
Installing ARCitect-GX
Section titled “Installing ARCitect-GX”-
Head to the ARCitect-GX’s GitHub release page.
-
Under “Assets” Download the latest release for Windows (
Swate-x.x.x Setup.exe). -
In Windows Explorer, open the folder where you downloaded the ARCitect-GX.
-
Unzip (
Right click➞Extract All..) the folder (Swate-x.x.x Setup.exe). You can move this folder to another location (e.g.Program files). -
Start the ARCitect-GX, by clicking the
Swateapplication. -
Once started, you see a Windows Defender warning. To proceed, click
More infoand thenRun anyway.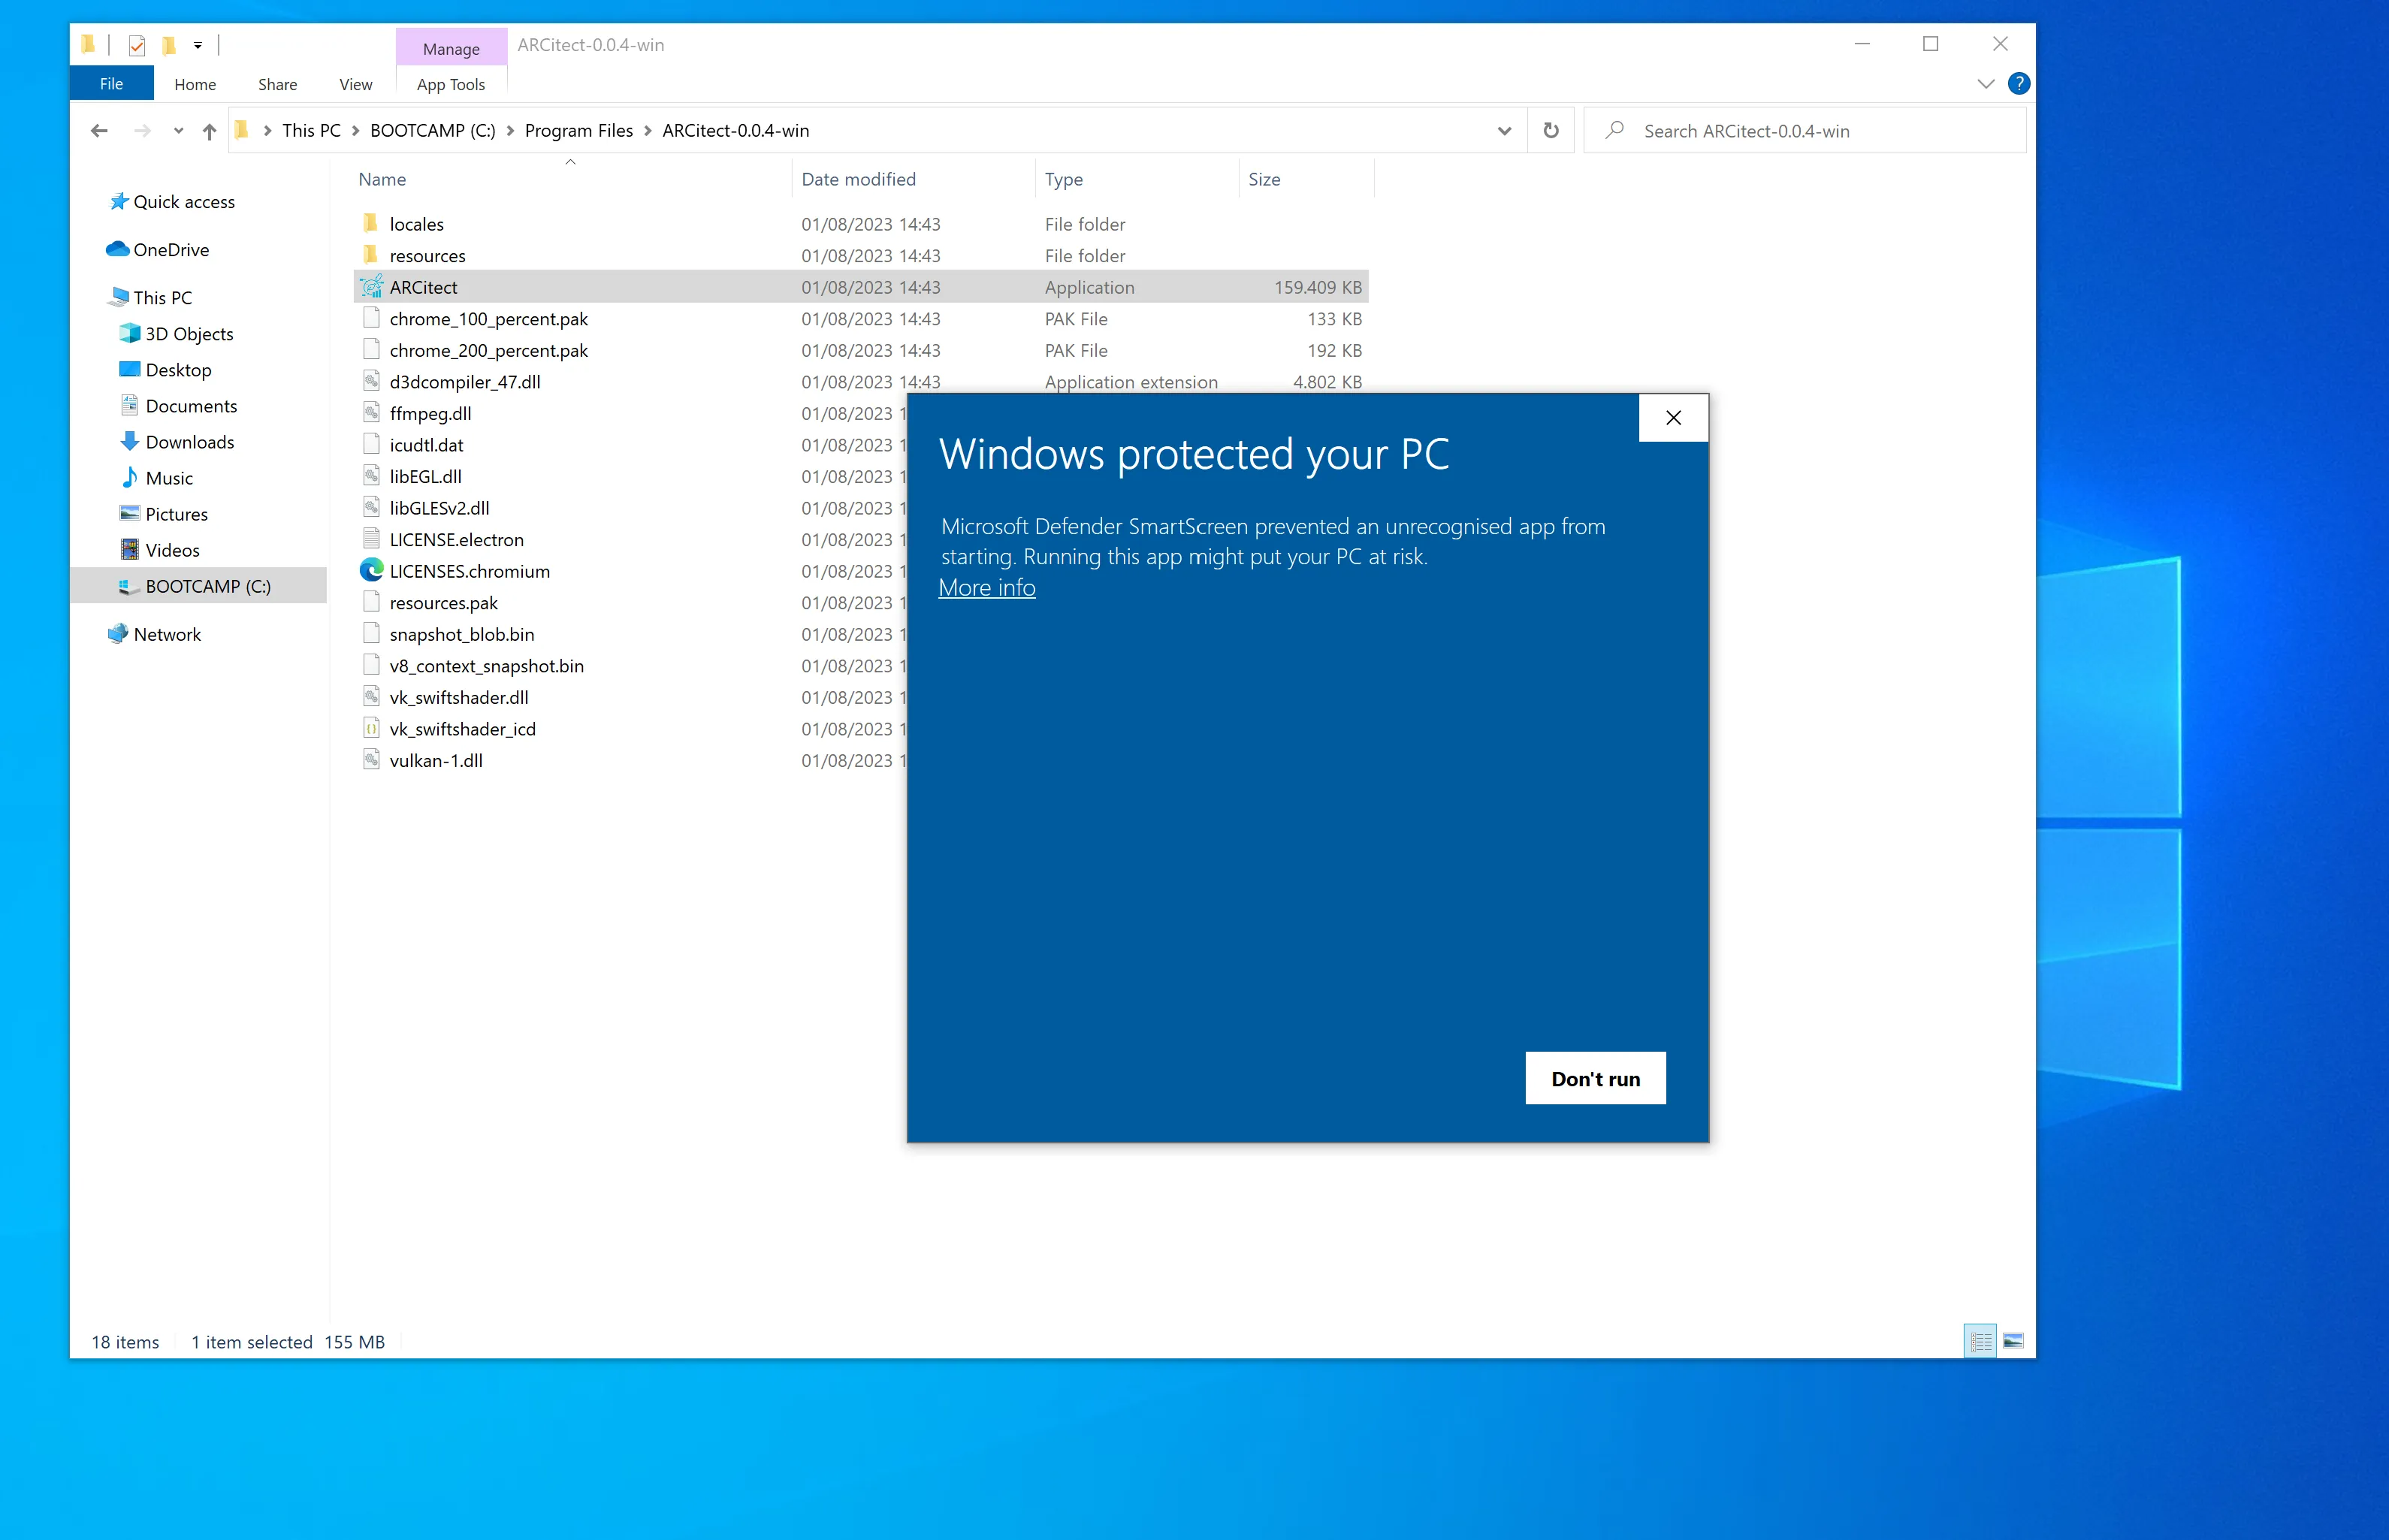
-
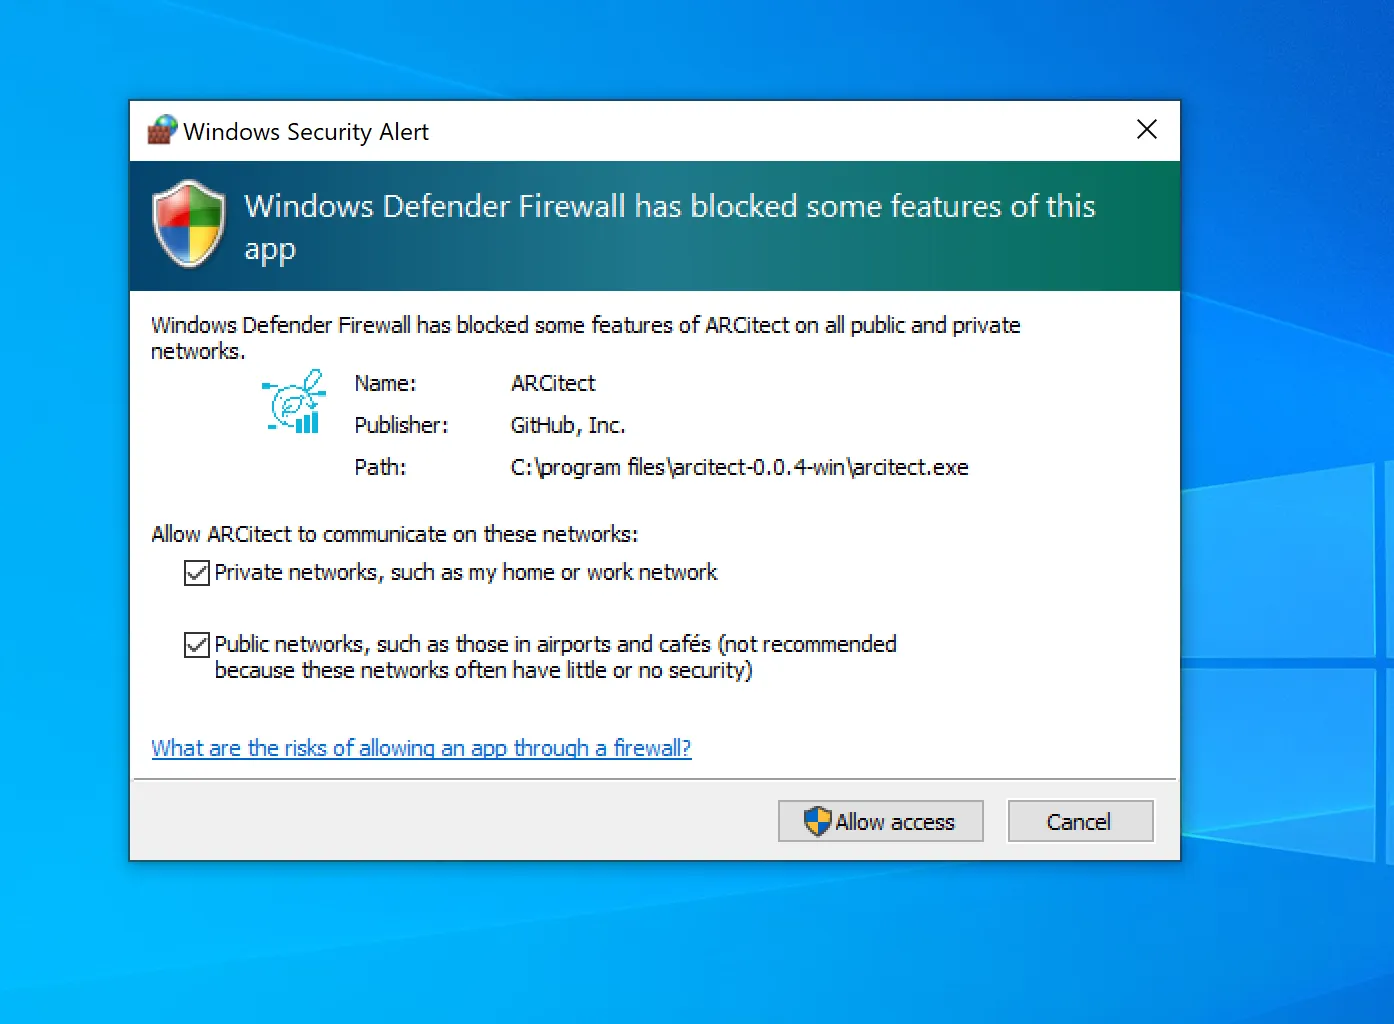
Windows Defender Firewall further asks you to allow network communication. This enables communication with the DataHUB.
-
Head to the ARCitect-GX’s GitHub release page.
-
Download the macOS installer
Swate-x.x.x.dmgfor your platform (Intel: x64 or Apple Silicon: arm64). -
Double-click the installer
Swate-x.x.x.dmgand move the app to your Applications folder.
Unidentified developer
Section titled “Unidentified developer”When starting ARCitect-GX for the first time, you are warned about an unidentified developer.
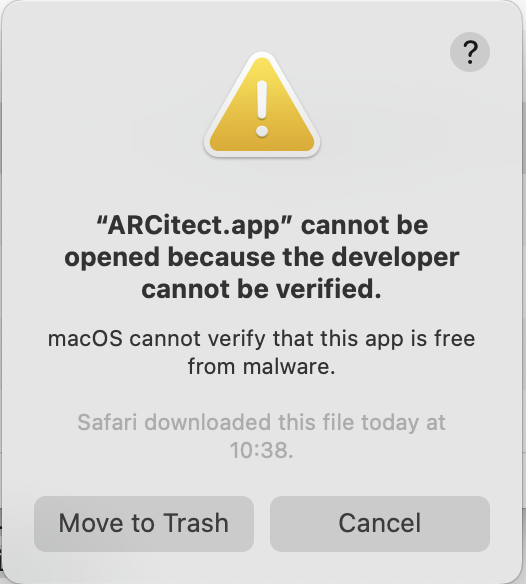
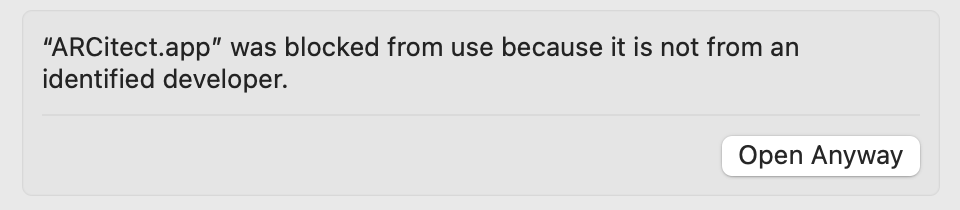
Please navigate to the Privacy & Security panel in your System Settings to Open Anyway.
Accept incoming network connections
Section titled “Accept incoming network connections”Every time you start the ARCitect-GX, you are asked to accept incoming network connections.
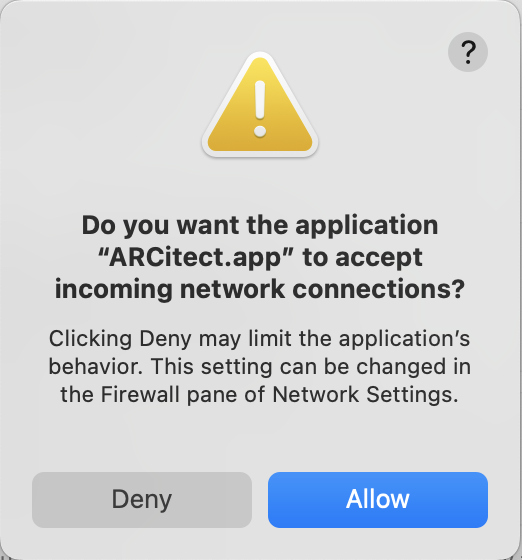
This enables communication with the DataHUB.
-
Install additional dependencies via
Terminal window sudo apt-get updatesudo apt-get install libgtk-3-0 libnotify4 xdg-utils libsecret-1-0 -
Head to the ARCitect-GX’s GitHub release page.
-
Download the Linux DEB package
Swate-x.x.x_amd64.deb. -
Install ARCitect-GX
Terminal window sudo dpkg -i ./Swate-x.x.x_amd64.deb -
Start the ARCitect-GX via
Terminal window swate